
The new WordPress E-Commerce Shopping Cart Plugin has a lot to offer. It was one of the most popular, most robust e-commerce plugin for WordPress and it a simple and easy way to sell products, downloads or services online.
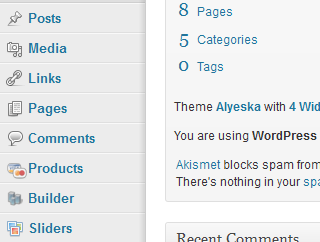
To get started you’ll first need to log in to your WordPress site. Once you are here, click on the Products tab that is located on the left sidebar navigation.
From here you’ll be directed to a page that gives you the option to Add New. Click Add New to begin your shopping cart experience.

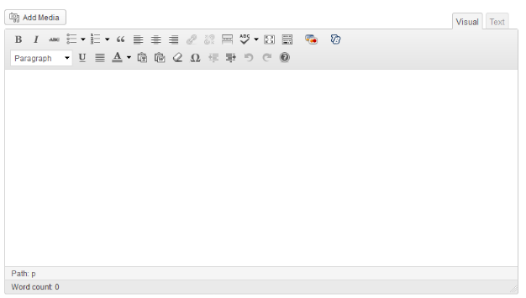
On the Add New Product page, you can enter the title of your product near the top of the page where it is labeled Enter title here

Add a short description of the product in the next box.
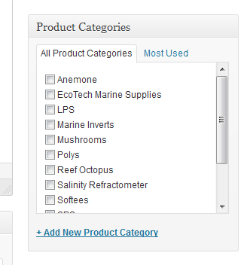
Next, you’ll want to choose a Product Category. You can also add a new category by clicking the + Add New Product Category.
Below the Product Category you’ll find the option to add an image to your product. Click Set featured image and upload.

After adding your featured image you can scroll down to set your price. You also have the option to add a sale price.
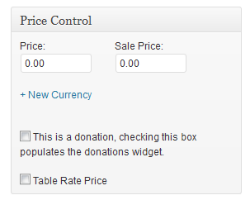
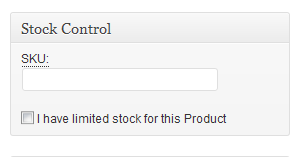
Add your SKU directly under the price field. A SKU is a Stock-Keeping Unit. If you have a limited supply for the product, be sure to click that option.
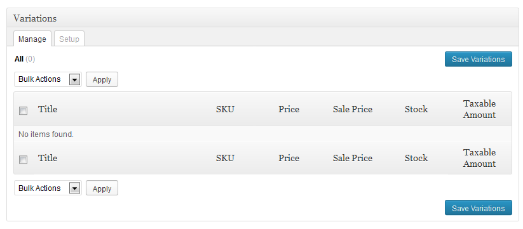
Variations
If you have variations of your product you can add that information as well.
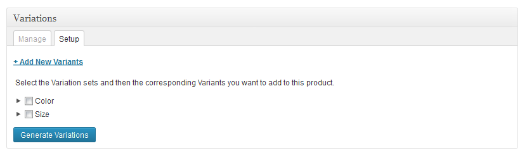
Click on the Setup tab and add your color or size variations. Then click Generate Variations.
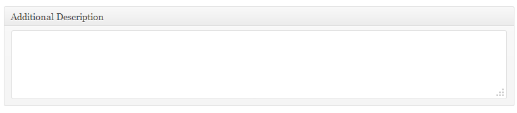
Lastly, if you have additional product information you would like to add you can do so in the Additional Description box.
Once you have filled in these fields click Publish on the top right of the page.