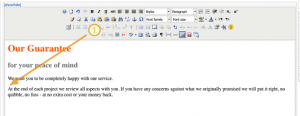
Step 1
Place your cursor roughly where you would like the image inserted.
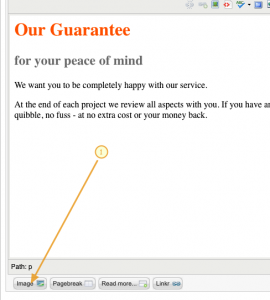
Step 2
Click on the image button and a new window will open.
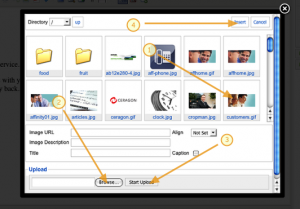
Step 3
Choose a picture you already have loaded to Joomla or browser for a new picture on your computer and upload it to Joomla. Select the picture you require and click insert.
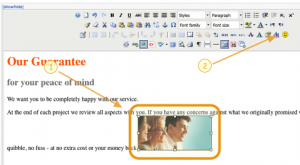
Step 4
With the image selected (nb. the white squares surrounding the picture – this indicates selected). Click on the css styling tool (symbol AA) – a new window will open.
Step 5
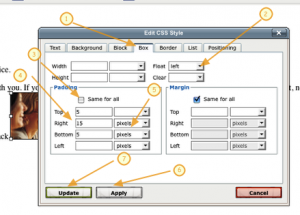
Select the Box tab.
Use the drop down to select left ( as we want the image to align to the left)
Uncheck the same for all box.
Add a few pixels of white space above and below and to the right of the image to hold the text slightly away from the image.
Make sure you select pixels from each drop down – note pixels has not been selected for the top padding, this means padding will not get added.
Click apply to preview the settings, adjust any of the setting until you are happy with the results.
When you are happy with the look click update to save the settings.
Step 6
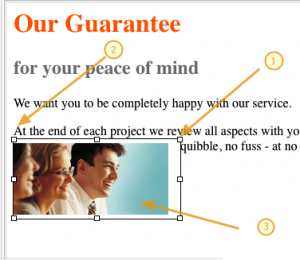
If your picture isn’t quite where you’d like it to be, click on the image to bring up the selection box with the white square handles – now click and drag the image until you see the cursor blinking to the left of the At in the row above – then release.

